Vinyl flooring is a popular choice for households and commercial spaces alike, known for its durability, water resistance, and ease of maintenance. But while vinyl floors are tough, they aren’t invincible—they need a little TLC to keep looking their best over the years. Whether it’s dealing with stubborn stains, avoiding scuffs, or just keeping that fresh, clean appearance, knowing how to clean vinyl floors effectively can make all the difference in prolonging their beauty and functionality.
Imagine this: You’ve just installed a stunning vinyl floor, and for weeks it’s a showstopper. But as time goes by, little by little, dirt, smudges, and scuff marks start to dull that beautiful finish. You mop regularly, but somehow it never looks quite as fresh as before. This guide is here to solve that problem! We’ll walk you through each step of the cleaning process, with tips for daily maintenance, weekly refreshers, and deep cleans, so you can keep your vinyl floors shining without damaging their surface.
What You’ll Gain from This Guide:
- Clear, step-by-step instructions for cleaning vinyl floors
- Pro tips to avoid common mistakes that can cause damage
- Money-saving tricks and DIY solutions
- Quick troubleshooting tips for persistent stains and scuffs
Ready to bring your vinyl floors back to life? Let’s dive in!
Step-by-Step Instructions
Step 1: Gather the Right Tools and Supplies
What to Do: Start by gathering essential cleaning supplies.
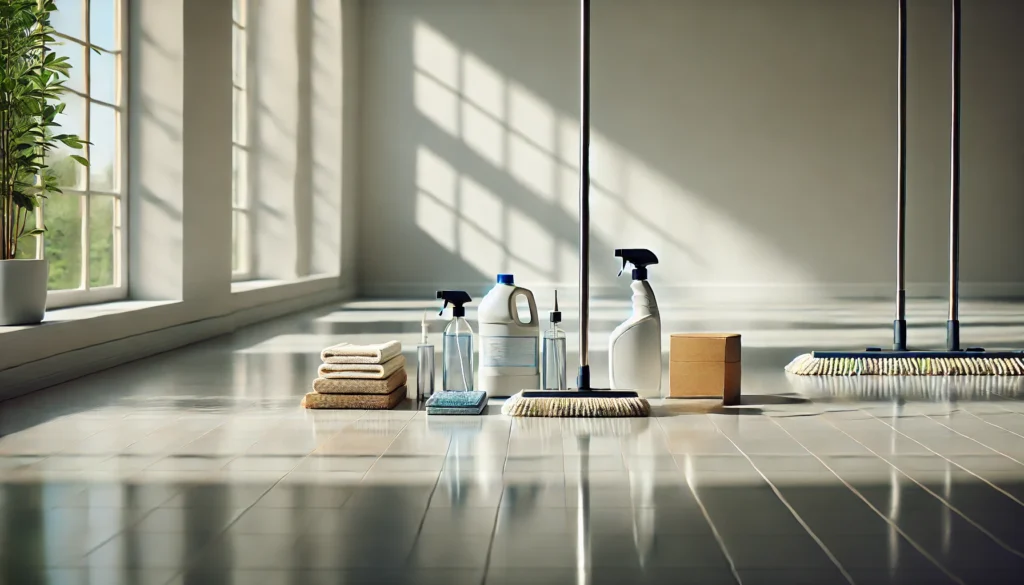
How to Do It: To clean vinyl floors properly, having the right tools makes all the difference. Here’s a quick checklist of supplies you’ll need:
- Microfiber Mop: Gentle yet effective on vinyl surfaces, microfiber mops won’t scratch.
- Soft-Bristled Broom or Vacuum: A broom with soft bristles or a vacuum specifically designed for hard floors works best to avoid scuffs.
- Warm Water and Mild Dish Soap: Great for regular cleaning without leaving streaks.
- White Vinegar: For deeper cleans or dealing with sticky residues.
- Isopropyl Alcohol: Useful for stubborn stains.
- Soft Cloths: Ideal for spot cleaning or polishing.
Why It Matters: Using the wrong tools, like a regular vacuum with a beater bar, can create tiny scratches or scuff marks. By starting with vinyl-safe supplies, you’re setting up for a scratch-free, smooth clean.
Step 2: Sweep or Vacuum Thoroughly
What to Do: Remove loose dirt and debris before mopping.
How to Do It:
- Begin with a soft-bristled broom, sweeping in gentle, circular motions.
- For a quicker approach, use a hard floor vacuum without the beater bar.
Pro Tip: Try sweeping in one direction to avoid kicking dirt back onto the cleaned areas.
Why It Matters: Dirt, sand, and other particles left on the floor can act as abrasives, scratching the vinyl’s protective layer as you mop or walk on it. A thorough sweep is your first line of defense against this type of wear and tear.
Step 3: Mop with a Mild Cleaning Solution
What to Do: Use a gentle cleaning solution to maintain your vinyl’s shine.
How to Do It:
- Mix a few drops of mild dish soap into a bucket of warm water.
- Dip the microfiber mop in the solution, wring it out thoroughly, and mop in even strokes.
- If the floor is sticky, add a 1:1 mix of warm water and white vinegar for an extra-clean finish.
Pro Tip: Always wring out the mop well—too much water can seep into seams or edges and weaken the vinyl adhesive over time.
Why It Matters: Vinyl floors are water-resistant, but they’re not waterproof. Excess water can seep under the surface and cause warping or adhesive damage, particularly in older installations.
Step 4: Spot Treat Stains and Scuffs
What to Do: Address stubborn stains and scuffs separately to avoid harsh scrubbing over the entire floor.
How to Do It:
- Scuffs: Apply a small amount of isopropyl alcohol to a soft cloth and rub gently until the scuff fades.
- Food Stains: Use a baking soda paste (baking soda mixed with a bit of water) to gently buff out the stain, then wipe clean with a damp cloth.
- Ink or Makeup: Use a bit of rubbing alcohol, blotting (not rubbing) until the stain lifts.
Pro Tip: Always test any cleaning method on an inconspicuous area to ensure it doesn’t discolor or damage your vinyl.
Why It Matters: Vinyl floors can be sensitive to certain chemicals. By spot-treating, you avoid the risk of spreading residue across the floor and can manage specific areas without affecting the entire surface.
Step 5: Rinse and Dry the Floor
What to Do: Rinse with clean water and dry the floor to finish up.
How to Do It:
- Go over the floor once more with a microfiber mop dampened with plain water to remove any soapy residue.
- Dry the floor with a clean, soft towel, or allow it to air dry by opening windows or running a fan.
Pro Tip: If possible, dry in sections as you go to avoid accidental footprints or streaks.
Why It Matters: Soapy residue can dull the finish on your vinyl floor, making it look foggy or streaky. Rinsing ensures the floor stays bright and residue-free, while drying prevents slipping.
Step 6: Prevent Future Dirt and Damage
What to Do: Implement preventative measures to keep your floor cleaner for longer.
How to Do It:
- Use Mats and Rugs: Place mats at entrances to trap dirt before it gets to your vinyl floors.
- Protective Pads: Place felt pads under furniture legs to prevent scuffs when moving furniture.
- Regular Dusting: Lightly sweep or dust daily to prevent buildup.
Pro Tip: Invest in washable rugs to place in high-traffic areas, as they’re easy to clean and replace.
Why It Matters: Regular maintenance and preventive measures go a long way in extending the lifespan of your vinyl floors, helping them maintain their original look without the need for constant deep cleaning.
Troubleshooting & Additional Tips
Common Issues & Fixes
- Sticky Residue: Try a mixture of white vinegar and water to break down stickiness, then rinse thoroughly.
- Fading or Discoloration: Avoid ammonia-based cleaners that can dull or discolor vinyl. Instead, use a mild dish soap solution.
- Persistent Scuffs: For tricky scuffs, a pencil eraser can sometimes remove marks without scratching the surface.
Best Practices for Vinyl Floor Care
- Avoid harsh chemicals, which can strip the finish.
- Keep the floor as dry as possible, especially at the edges.
- Don’t use abrasive scrubbers; they’ll create permanent scratches.
Optional Content Sections
Case Study: How One Homeowner Saved on Floor Replacement Costs
When Janet noticed her vinyl floors were looking a bit lackluster after years of use, she tried replacing rugs and even considered re-installing the floors altogether. After following a similar guide, she rejuvenated her floors entirely with a few simple cleaning steps—saving thousands in the process and restoring that “new floor” look!
Expert Insight
Floor Care Expert: “Vinyl floors are meant to be low maintenance, but only if cleaned correctly. Regular cleaning with gentle solutions will keep them looking great, and proactive measures are key to long-term resilience.”
Additional Resources
- Top 7 Best Mop for Vinyl Floors in 2024
- How to Clean Vinyl Plank Flooring: The Ultimate Guide for Spotless, Long-Lasting Floors
- How to Clean LVP Flooring: The Ultimate Guide
FAQs about How to Clean Vinyl Floors
1. How often should I clean my vinyl floors?
Daily sweeping or dusting and weekly mopping with a gentle solution will keep your floors looking their best without overdoing it.
2. Can I use a steam mop on vinyl floors?
It’s best to avoid steam mops, as the heat and moisture can damage vinyl, especially if it’s older or not glued down securely.
3. What should I do about pet accidents?
Clean them up quickly with a mixture of vinegar and water. Avoid harsh chemicals as they can irritate your pets and damage the flooring.
Conclusion
Cleaning vinyl floors doesn’t have to be a chore if you know what steps to take. With just a few simple tools and some consistent care, your vinyl floors can stay looking fresh and new for years to come. Remember, regular sweeping, a mild mop, and quick spot treatment are the keys to preventing wear and tear.

So go ahead—grab your mop, throw on some music, and take satisfaction in restoring that beautiful shine to your vinyl floors!
