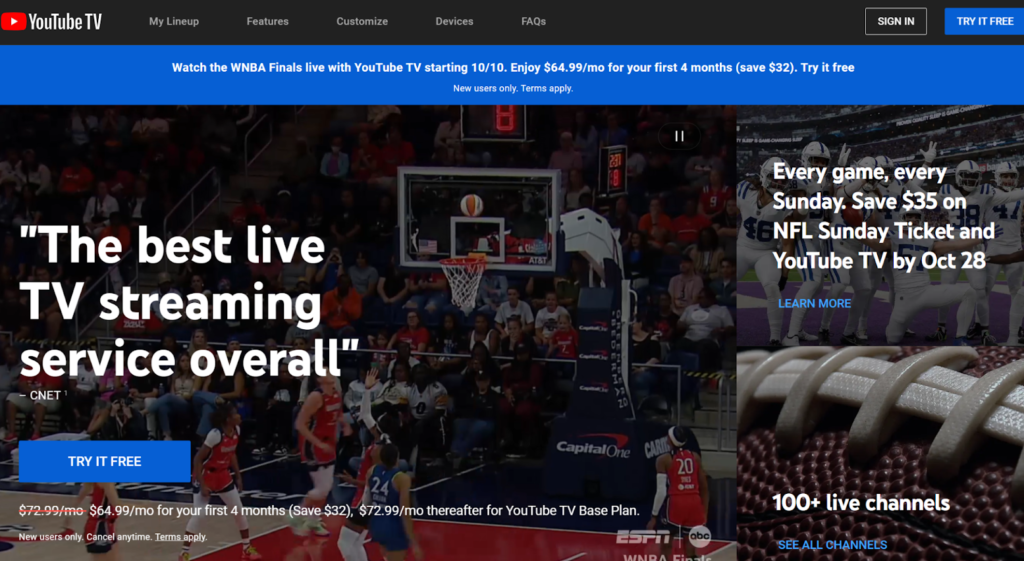
Have you ever signed up for a service thinking, “This is perfect!” only to realize later it’s not what you need? Maybe your preferences changed, or you found something more suited to your needs. If this sounds familiar, you might be here searching for how to cancel YouTube TV.
The good news? Canceling YouTube TV is a straightforward process, but knowing the exact steps can save you time, frustration, and potential charges. In this guide, we’ll walk you through every step—from accessing your account settings to verifying cancellation—ensuring you’re free from unwanted subscriptions without a hitch.
Whether you’re trying to cut down on expenses, explore other streaming options, or just take a break, this guide will show you the way. By the end, you’ll feel confident and in control of your streaming choices.

Step-by-Step Instructions
Accessing Your YouTube TV Account
What to Do:
The first step in canceling YouTube TV is accessing your account. Log in through the YouTube TV website or mobile app.
How to Do It:
- Open your preferred browser or mobile app.
- Navigate to YouTube TV.
- Log in using the account associated with your subscription.
Why It Matters:
This ensures you’re in the correct account where your subscription resides. Without proper access, the cancellation process cannot proceed.
Pro Tip: Always verify your login details before starting to avoid unnecessary errors.
Navigating to the Settings Menu
What to Do:
Once logged in, locate the settings menu to manage your subscription.
How to Do It:
- Navigate to the top right corner of the screen and click on your profile icon.
- Select “Settings” from the dropdown menu.
- Under “Settings,” choose “Membership.”
Why It Matters:
This menu holds all the information about your current subscription, including options for pausing or canceling.
Pro Tip: If using a mobile device, the layout might differ slightly. Check for three horizontal lines or similar navigation icons.
Selecting “Cancel Membership”
What to Do:
Choose the cancellation option to initiate the process.
How to Do It:
- Under the “Membership” section, find and click “Cancel Membership.”
- Follow the prompts asking why you’re canceling.
Why It Matters:
YouTube TV uses your feedback to improve services and sometimes offers promotions or adjustments to retain subscribers.
Pro Tip: Be firm in your decision if you’re sure about canceling. Accepting offers during this stage may renew your subscription.
Confirming the Cancellation
What to Do:
Complete the cancellation by confirming your choice.
How to Do It:
- After providing feedback, confirm by clicking “Continue Canceling.”
- Wait for the confirmation screen that states your subscription has been canceled.
Why It Matters:
Without proper confirmation, your subscription might remain active, leading to future charges.
Pro Tip: Screenshot the confirmation page for your records.
Checking Your Email for Confirmation
What to Do:
Verify your cancellation via the confirmation email sent by YouTube TV.
How to Do It:
- Open your email account associated with YouTube TV.
- Look for an email with the subject “YouTube TV Membership Canceled.”
Why It Matters:
This email serves as proof of cancellation and provides details about any remaining access before your subscription ends.
Pro Tip: Add the email to a “Saved” folder for easy reference if billing issues arise later.
Double-Checking Your Bank Statements
What to Do:
Ensure no additional charges appear post-cancellation.
How to Do It:
- Check your bank or credit card statements.
- Look for any transactions related to YouTube TV after the cancellation date.
Why It Matters:
Sometimes, auto-renewal glitches can result in unexpected charges. Staying vigilant avoids potential disputes.
Pro Tip: Contact YouTube TV support if discrepancies appear.
Troubleshooting & Additional Tips
Common Issues & Fixes
- Problem: “I can’t find the cancellation option.”
Solution: Ensure you’re logged into the correct account and check under “Settings > Membership.” - Problem: “I’m still being charged.”
Solution: Verify your cancellation email and contact support with proof of cancellation. - Problem: “The site keeps crashing.”
Solution: Clear your browser cache or try accessing YouTube TV through another device.
Best Practices & Tips
- Pause Instead of Canceling: If you’re considering returning, pausing your membership might be a better option.
- Cancel Before Billing Cycle: Ensure you cancel at least 24 hours before your next billing cycle to avoid charges.
- Double-Check Subscriptions: Confirm that family members haven’t subscribed using a shared account.
FAQs about How to cancel YouTube TV
1. How long do I retain access after canceling YouTube TV?
You retain access until the end of your current billing cycle, even after cancellation.
2. Can I pause my YouTube TV subscription instead of canceling?
Yes, YouTube TV offers a “Pause” option, allowing you to suspend your subscription for a set period.
3. What happens to recordings after cancellation?
Your recordings will be available until the end of the billing cycle. Post-cancellation, they will be deleted.
4. Can I re-subscribe after canceling?
Absolutely! You can re-subscribe at any time by logging back into your account and restarting your membership.
5. Is there a penalty for canceling early?
No, YouTube TV operates on a month-to-month basis with no cancellation fees.
6. How do I contact YouTube TV support?
Visit the YouTube TV Help Center for detailed assistance.
Conclusion
Canceling YouTube TV doesn’t have to be a stressful ordeal. By following this guide, you can complete the process quickly and with confidence. Remember to double-check your bank statements, save your confirmation email, and explore the “Pause” option if you’re not entirely sure about canceling.
If you found this guide helpful, share it with someone who might benefit. Whether you’re looking to streamline your subscriptions or simply trying something new, understanding how to cancel YouTube TV empowers you to make the best choices for your streaming needs.
