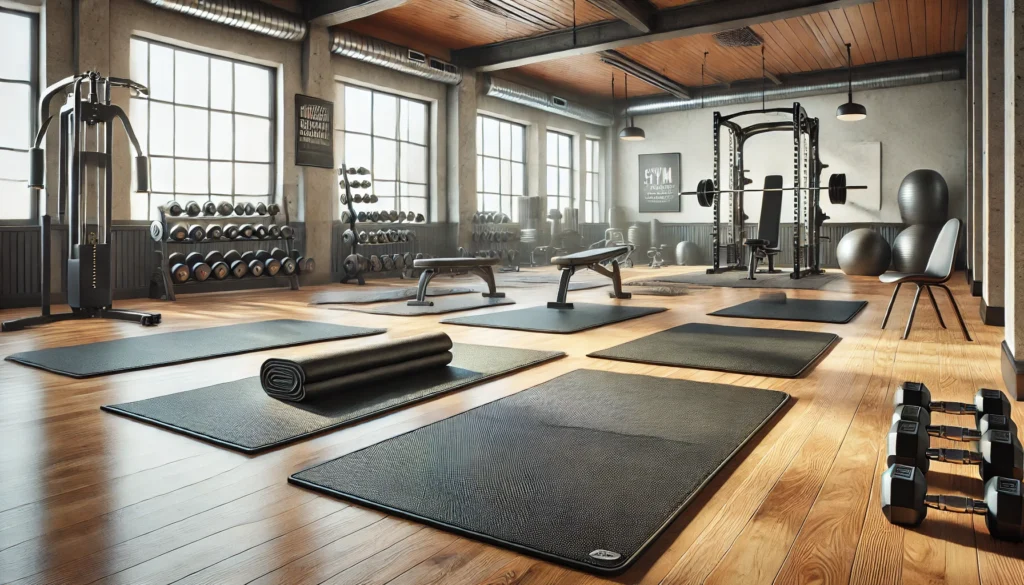
Hardwood floors add a touch of elegance to any space, but they can be tricky to manage when converting a room into a home gym. Dropped weights, intense cardio, and heavy equipment can damage the wood, causing scratches, dents, or worse. If you’ve ever hesitated about bringing fitness into your home for fear of ruining your floors, installing a gym mat is your saving grace!
But here’s the kicker: improper installation of gym mats can lead to uneven surfaces, slipping hazards, and even damage to your beautiful hardwood beneath. So, how do you get it right? In this guide, we’ll teach you exactly how to install gym mat on hardwood for optimal safety, protection, and durability.
By the time you’re done, you’ll have a workout-ready space that’s not just functional but also aesthetically pleasing. Let’s dive in!
Step-by-Step Instructions for Installing Gym Mats on Hardwood
Step 1: Choose the Right Gym Mat for Your Needs
Not all gym mats are created equal. Depending on your workouts and equipment, you’ll need a mat with the right thickness, material, and durability.
- For Yoga or Bodyweight Workouts: Thin, lightweight mats (¼-inch thick) suffice.
- For Weightlifting: Opt for high-density rubber mats, at least ¾-inch thick, to absorb impact.
- For Cardio Equipment: EVA foam mats offer cushioning and are ideal for equipment like treadmills.
Pro Tip: Measure the room and mark out the areas you’ll be using for each activity to decide how much matting is required.
Step 2: Prep the Hardwood Surface
Before you place any mats, preparing your hardwood is essential to avoid damage.
- Clean Thoroughly: Use a soft broom or vacuum to remove dirt and debris. Follow up with a damp microfiber mop and a gentle wood cleaner.
- Inspect for Damage: Fix any scratches or uneven areas on the floor to ensure the mats lay flat.
- Dry Completely: Ensure the surface is entirely dry before proceeding to prevent moisture from being trapped under the mats.
Pro Tip: Avoid harsh cleaners that can strip the wood’s protective finish.
Step 3: Install a Protective Underlayment
To safeguard your hardwood from scratches and reduce noise, consider adding a protective layer beneath your gym mats.
- Cork Sheets or Felt Pads: These add a soft barrier while providing stability.
- Moisture Barrier Film: Essential for basements or areas prone to humidity to prevent damage from trapped moisture.
Roll out the underlayment and trim it to fit the area. Secure the edges with double-sided tape.
Pro Tip: For heavy-duty protection, use a rubber underlayment to add extra cushioning.
Step 4: Lay Out the Gym Mats
It’s time to place your gym mats.
- Start in a Corner: Align the mat snugly with the walls to minimize gaps.
- Interlocking Mats: Fit the pieces together like a puzzle for a seamless look.
- Roll-Out Mats: Roll them out carefully, ensuring no creases or folds.
If the mats shift while laying them, use a mallet to gently tap interlocking pieces together or smooth out air bubbles with a roller.
Pro Tip: Leave a small gap (about ¼ inch) around the edges to account for material expansion.
Step 5: Secure the Mats
To prevent slippage during workouts, it’s crucial to anchor the mats.
- Double-Sided Tape: Apply to the edges or corners of the mats to keep them in place.
- Non-Slip Pads: Place these beneath lightweight mats for added stability.
- Adhesive Glue: For permanent installations, use adhesive to bond the mats securely.
Pro Tip: Avoid adhesives that can damage the hardwood finish when removed.
Step 6: Trim Excess Material
If you’re installing gym mats in an irregularly shaped room, you’ll need to trim the excess material for a perfect fit.
- Use a utility knife or heavy-duty scissors.
- For straight cuts, use a straight edge as a guide.
- Cut slowly to ensure a clean finish without jagged edges.
Pro Tip: Keep a few spare mats or pieces for future repairs.
Troubleshooting & Additional Tips
Common Issues and Fixes
- Mats Keep Shifting: Use additional non-slip pads or heavier mats for stability.
- Unpleasant Odor from Mats: Air out rubber mats outdoors for 48 hours before installation.
- Moisture Trapped Under Mats: Regularly lift and clean underneath to prevent wood damage.
Best Practices
- Clean your gym mats regularly to prevent debris buildup.
- Use furniture sliders or protective covers under heavy equipment to reduce pressure.
- Check for wear and tear, especially at seams and high-use areas.
FAQs about How to Install Gym Mat on Hardwood
1. What is the best thickness for gym mats on hardwood?
For hardwood protection, mats at least ½-inch thick are recommended. However, thicker mats (¾-inch or more) are ideal for high-impact workouts.
2. Will gym mats damage my hardwood floor?
When installed with proper underlayment and care, gym mats should not damage hardwood floors.
3. Can I use yoga mats instead of gym mats?
Yoga mats are fine for low-impact exercises but won’t offer enough protection for weightlifting or heavy equipment.
4. How do I prevent gym mats from sliding?
Use non-slip pads, double-sided tape, or heavier mats to keep them securely in place.
5. Do I need a professional to install gym mats?
No, installing gym mats is a straightforward DIY project if you follow the steps outlined here.
6. What’s the easiest way to clean gym mats?
Use a damp cloth and mild soap to wipe them down. Don’t use harsh chemicals that can cause the material to degrade.
Conclusion
Installing a gym mat on hardwood doesn’t have to be daunting. With the right materials, proper preparation, and attention to detail, you can transform your space into a safe and functional gym while protecting your beautiful floors. From choosing the right mat to securing it for long-term use, every step contributes to a flawless installation.
So, why wait? Grab your tools, roll out your mats, and create the gym of your dreams—your hardwood floor will thank you!
