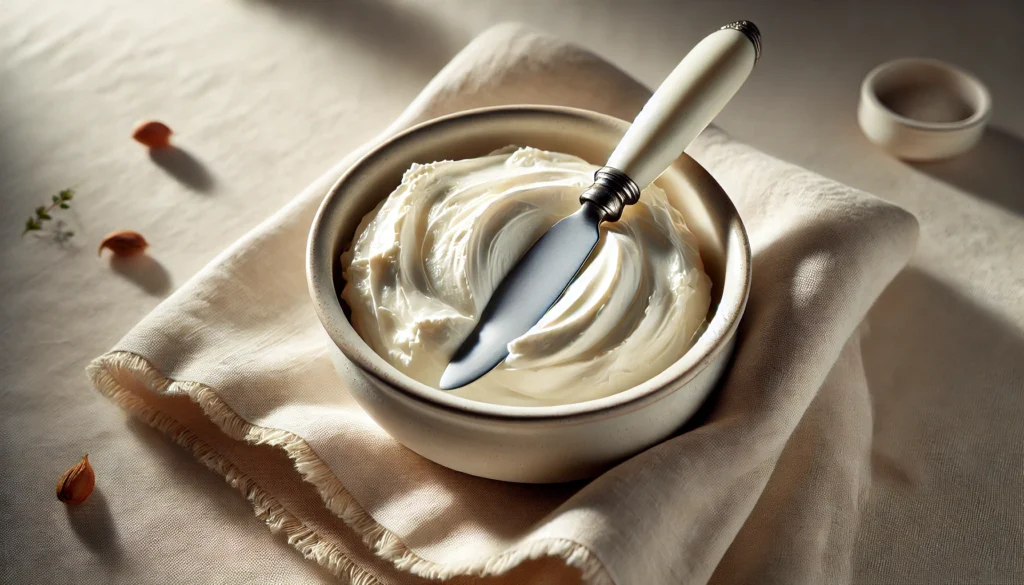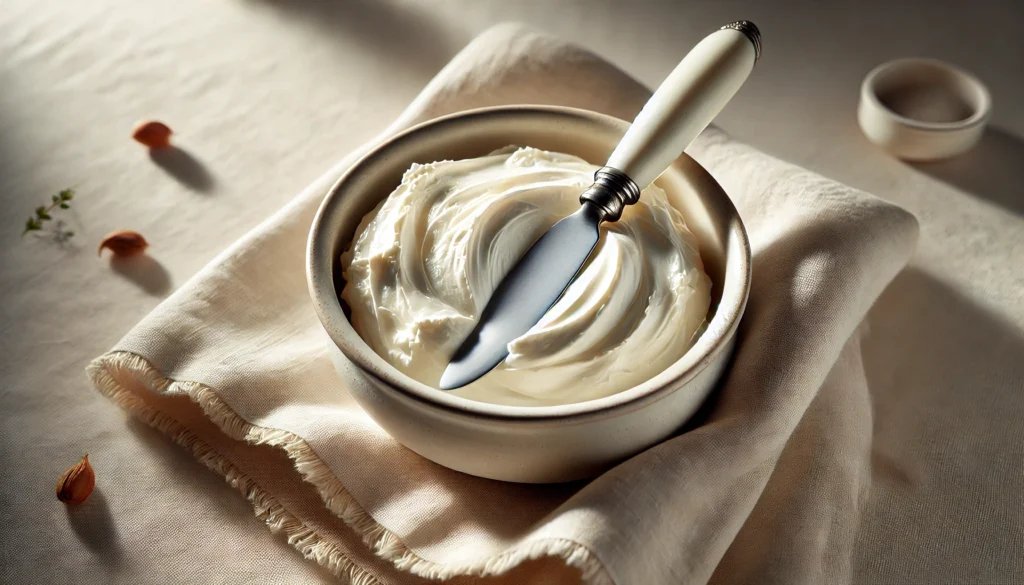
There’s something undeniably satisfying about making your own cream cheese at home. Maybe it’s the rich, creamy texture that feels like an indulgence, or the joy of creating something from scratch with just a few ingredients. If you’re used to picking up store-bought cream cheese, you might be surprised by how easy, budget-friendly, and delicious it is to make your own! So, how do you make cream cheese that rivals any store brand? This guide will take you through each step, from gathering ingredients to troubleshooting common issues, ensuring you achieve a smooth, spreadable result every time.
Homemade cream cheese offers some incredible advantages. Not only can you control the quality of ingredients, but you’ll also get a fresh product without unnecessary preservatives. Plus, by following this guide, you’ll save a bit of money—especially if you’re a regular user of cream cheese in everything from bagels to baked goods!
Ready to dive in? Let’s explore exactly what you need and how to make cream cheese at home in six easy steps.
Step-by-Step Instructions
Step 1: Gather Your Ingredients and Equipment
What to Do: Start by collecting the essential ingredients and equipment for making cream cheese. You’ll need whole milk, heavy cream, white vinegar or lemon juice, salt, and optional flavorings (like herbs or garlic if you want a flavored version).
How to Do It: Place the following ingredients on your counter:
- 4 cups of whole milk
- 1 cup of heavy cream
- 1 tablespoon of white vinegar or lemon juice
- ½ teaspoon of salt (adjust to taste)
Additionally, have a heavy-bottomed saucepan, a thermometer, cheesecloth or a fine strainer, a large bowl, and a mixing spoon handy.
Why It Matters: High-quality milk and cream make a significant difference in taste and texture. Using fresh, full-fat dairy will ensure the end product is rich and creamy. Vinegar or lemon juice helps curdle the milk, which is essential for forming the creamy base of the cheese.
Step 2: Heat the Milk and Cream
What to Do: Pour the milk and cream into your saucepan and gently warm it.
How to Do It: Set your saucepan over medium heat, stirring occasionally to prevent the milk from scorching at the bottom. Heat the mixture to about 185°F (85°C). Use a thermometer to keep an eye on the temperature—it’s essential not to let the mixture boil, as this can affect the texture.
Why It Matters: Heating the milk and cream to the right temperature encourages the proteins to separate effectively, forming curds. This process is crucial for creating the soft, spreadable consistency that defines cream cheese.
Pro Tip: Be patient during this step! Rushing the heating process can lead to uneven curdling.
Step 3: Add the Acid (Vinegar or Lemon Juice)
What to Do: Once the milk mixture reaches 185°F, add your vinegar or lemon juice.
How to Do It: Slowly pour the vinegar or lemon juice into the saucepan, stirring gently as you do. You’ll notice the milk curdling almost immediately, forming lumps of curds and separating from the whey (a yellowish liquid).
Why It Matters: Acidification is what transforms milk into cheese. The vinegar or lemon juice reacts with the proteins in milk, causing them to coagulate, which is a necessary step for creating cream cheese.
Pro Tip: Don’t worry if the curds seem soft at first; they’ll firm up as they continue to rest.
Step 4: Strain the Curds
What to Do: Now that you have your curds, it’s time to separate them from the whey.
How to Do It: Line a large bowl with a double layer of cheesecloth, or use a fine-mesh strainer if you have one. Carefully pour the curdled mixture into the cloth or strainer. Allow it to drain for 10-15 minutes to achieve a firmer texture; for a thicker consistency, let it drain longer.
Why It Matters: Straining removes excess whey, giving the cream cheese a smooth texture. The longer you let it drain, the firmer and thicker your cream cheese will be.
Pro Tip: If you’d like a very creamy cheese, avoid pressing down on the curds; just let gravity do the work.
Step 5: Blend Until Smooth
What to Do: Transfer the strained curds to a food processor or blender for the final texture.
How to Do It: Place the drained curds into a food processor, add salt to taste, and blend until smooth. This step gives cream cheese its signature creamy texture. If you prefer a whipped texture, blend for a bit longer.
Why It Matters: Processing breaks down the curds further, creating a spreadable consistency. Salt enhances the flavor, giving the cheese a balanced, savory taste.
Pro Tip: For flavored cream cheese, add herbs, garlic, or even fruit (like strawberries) at this stage and blend thoroughly.

Step 6: Store and Enjoy Your Homemade Cream Cheese
What to Do: Transfer your finished cream cheese to an airtight container.
How to Do It: Scoop the cream cheese from the processor into a clean, airtight container. Refrigerate for at least 2 hours before use to let the flavors settle. It will last for about a week in the fridge.
Why It Matters: Homemade cream cheese lacks preservatives, so it needs to be stored in the fridge and used relatively quickly. Chilling also helps the texture firm up, making it easier to spread.
Pro Tip: Use a small, covered jar if you’re planning to serve it with appetizers or include it on a charcuterie board.
Troubleshooting & Additional Tips
Common Issues & Fixes
- Curds Not Forming: If your curds aren’t forming, double-check the temperature. Milk needs to be heated to around 185°F for the acid to work effectively.
- Too Runny: If your cream cheese is too runny, try letting it strain longer to remove more whey. You can also reduce the amount of heavy cream slightly next time.
- Lumpy Texture: If you prefer a smoother texture, be sure to blend the curds thoroughly. You may need to blend for a bit longer than usual if your curds are dense.
Best Practices & Tips for Perfect Cream Cheese
- Use Fresh Ingredients: Fresher milk and cream yield better results.
- Experiment with Flavors: Add garlic, herbs, or even sweet ingredients like honey or fruit for a unique twist.
- Serve Cold: Cream cheese firms up in the fridge, so refrigerate it before serving to achieve the right texture.
FAQs about How to make cream cheese
1. What’s the best way to store homemade cream cheese?
Store it in an airtight container in the fridge. Homemade cream cheese should be used within a week.
2. Can I use low-fat milk?
Full-fat milk provides the best texture. Low-fat versions may not yield the same creamy results.
3. Why is my cream cheese crumbly?
This could be due to over-straining or using a milk that isn’t high enough in fat. Be sure to use whole milk for the best consistency.
4. Can I freeze homemade cream cheese?
Yes, but it may alter the texture, making it slightly grainy when thawed.
5. What can I do with leftover whey?
Whey can be used in smoothies, soups, or baking as a nutrient-rich liquid.
Conclusion

Making cream cheese at home might sound like a challenge, but with the right ingredients and steps, it’s actually quite straightforward. Plus, the benefits are worth it—a fresh, creamy cheese that you can flavor to your taste! Now that you know how to make cream cheese from scratch, you can skip the store-bought versions and enjoy a truly homemade touch on everything from bagels to baked recipes.
Whether you’re an experienced home cook or just starting out, this guide provides everything you need to make cream cheese confidently and with ease. So go ahead—grab those ingredients, follow these steps, and savor the rich results!
