Drawing a dragon isn’t just about capturing mythical creatures on paper; it’s about bringing imagination to life. Dragons are a fantastic mix of fearsome and graceful, ancient and timeless, making them a popular subject in art. Whether you’re a beginner or an experienced artist, creating a dragon that looks real yet mythical can be challenging. This guide will help you navigate the process, showing you step-by-step how to draw a dragon that’s powerful, captivating, and uniquely yours. Ready to get started? Let’s unleash your inner artist!
Step-by-Step Instructions for Drawing a Dragon
Creating a dragon takes patience, practice, and some guidance. We’ll walk through each part of a dragon’s anatomy, from head to tail, focusing on structure, shapes, and adding realistic details. Follow each step to see your dragon evolve from basic shapes into an impressive mythical creature.
Read more: How to Draw: A Step-by-Step Guide to Unlocking Your Artistic Potential
Step 1: Sketch the Dragon’s Basic Shape
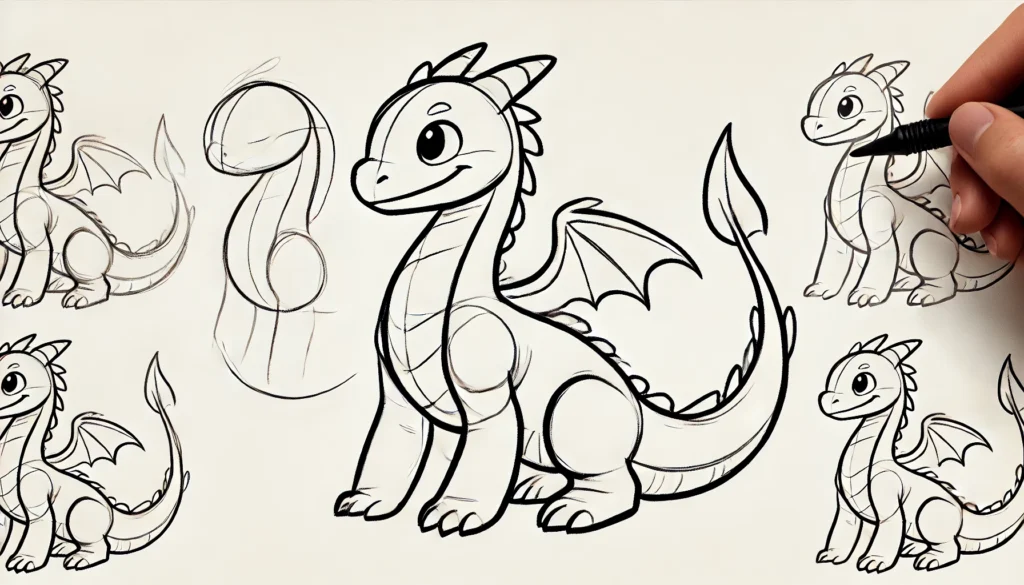
- What to Do: Start with a rough outline using basic shapes to lay the foundation for your dragon’s body.
- How to Do It: Draw a large oval for the dragon’s body and a smaller circle above it for the head. Connect these with a curved line to outline the neck, and sketch a long line extending from the body for the tail.
- Why It Matters: This foundational structure will guide the proportions and positioning, making it easier to add details later on.
- Pro Tips:
- Keep your pencil lines light, as you’ll refine and erase parts later.
- Use quick strokes to get comfortable with the shape, especially for the tail, which should flow naturally.

Step 2: Outline the Head and Add Facial Details
- What to Do: Define the shape of the dragon’s head and add facial features.
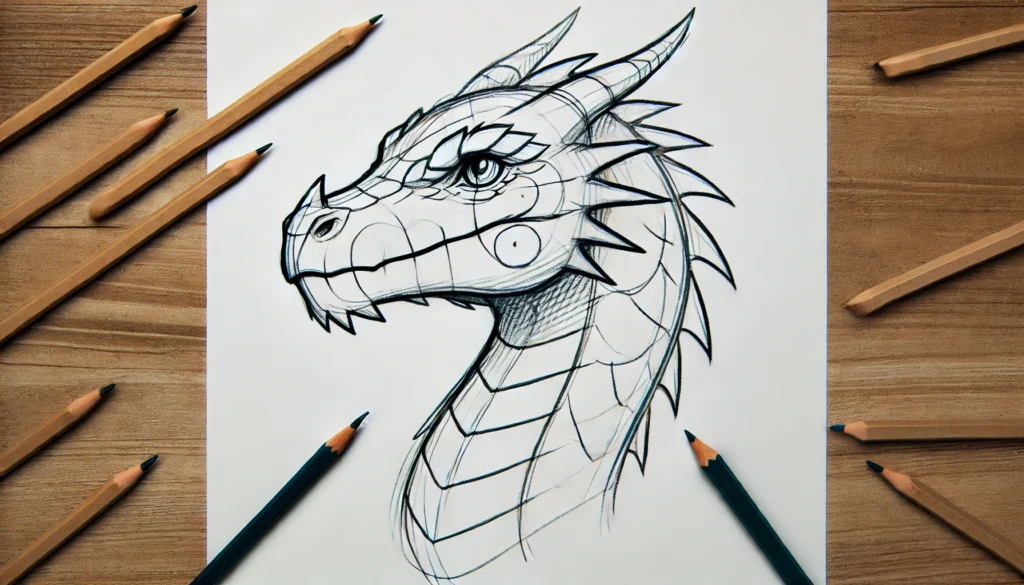
- How to Do It: Refine the head shape into a snout, adding an eye and mouth. Draw the jawline to give it a strong, fierce look. Add two small circles for nostrils.
- Why It Matters: The face is a focal point, conveying expression and personality. A fierce look can make the dragon appear more intimidating, while softer features can add a mystical touch.
- Pro Tips:
- Experiment with different eye shapes; a slitted eye can add intensity, while rounded eyes might give a friendlier appearance.
- Add small ridges or horns above the eyes to enhance the dragon’s ancient look.

Step 3: Sketch the Neck and Torso with Muscles and Details
- What to Do: Shape the neck and torso, adding muscles and scales for texture.
- How to Do It: Use the initial outline to flesh out the dragon’s neck, making it thicker near the body and narrower at the head. Draw curved lines along the neck for a muscular effect. Connect to the torso, adding scales along the chest.
- Why It Matters: Adding texture through muscles and scales makes the dragon look more realistic, showing strength and detail.
- Pro Tips:
- Create overlapping scales to give a natural flow to the body.
- Avoid repetitive patterns; mix up the scale sizes to make it more dynamic.
Step 4: Draw the Wings with Detail and Dimension
- What to Do: Outline and detail the wings, adding structure and realism.
- How to Do It: Start by drawing the “arm” of the wing, which should extend from the dragon’s back. Then sketch the wing membrane, stretching it across from the arm to a long finger-like structure.
- Why It Matters: Wings are the dragon’s defining feature and should look both strong and delicate. The right structure will give them a realistic, flight-ready appearance.
- Pro Tips:
- Give the wing membrane a slight curve for a natural, dynamic look.
- Add veins to the wing membrane for more texture and depth, making the wings look organic.
Step 5: Shape the Legs and Claws
- What to Do: Draw powerful legs and sharp claws to give your dragon a grounded, menacing appearance.
- How to Do It: Begin with a thick shape for the upper leg, tapering down to a thinner lower leg and foot. Add claws at the end, curving them for a fierce look.
- Why It Matters: Legs and claws are crucial for balance and strength, showcasing the dragon’s physical power.
- Pro Tips:
- Position the claws to show their curvature and sharpness, adding a sense of danger.
- Use small, curved lines for muscles on the legs, making them look well-defined.
Step 6: Add the Tail and Final Details
- What to Do: Complete the tail, adding any extra details like spikes or flame effects.
- How to Do It: Extend the tail from the body outline, adding a pointed or forked end. Add spikes or scales along the length to enhance texture.
- Why It Matters: A strong tail gives balance and a striking silhouette, helping to define your dragon’s personality.
- Pro Tips:
- Experiment with tail tips—sharp, spiked, or even flaming.
- Use curved lines for the tail to give a sense of movement and flow.
Read more: How to Draw Stitch: A Step-by-Step Guide for Beginners and Fans
Troubleshooting & Additional Tips
Creating a dragon might be challenging at first, but you’ll improve with practice. Here are a few tips and solutions for common issues that may arise:
- Struggling with Proportions? Try drawing smaller, rough sketches of the entire dragon before focusing on details. This practice will help you understand proportion better.
- Wing Symmetry Issues? Draw one wing first, then lightly sketch the second wing using the first as a reference for size and shape.
- Texture Overload: While scales and textures are essential, don’t overdo them. Leave space for smoother areas to balance the visual impact.
Pro Tips for Improvement:
- Use references for dragon anatomy, such as lizards or bats, especially for the wings.
- Experiment with different body shapes and expressions to make your dragon unique.
- Use colored pencils or watercolors to bring your dragon to life once you finish the sketch!
Frequently Asked Questions (FAQs)
1. How long does it take to learn how to draw a dragon?
It depends on your skill level and practice frequency. Beginners can make progress in a few hours, but achieving a refined look may take weeks or even months of practice.
2. What materials should I use to draw a dragon?
Start with simple pencils and paper. For added detail and color, try colored pencils, pens, or digital drawing software if you prefer working on a tablet.
3. How do I make my dragon look more realistic?
Pay attention to details like muscle definition, scale texture, and lighting. Studying real animals with similar features, like reptiles and birds, can help you mimic realistic elements.
4. Can I create my own dragon style?
Absolutely! Dragons are mythical, so feel free to experiment with features like unique horns, unusual wing shapes, and distinctive color patterns.
5. How do I avoid common mistakes in dragon drawing?
Start with a light sketch to plan proportions, and avoid adding too many details too soon. Practice regularly, and don’t be afraid to use references.
Conclusion
Drawing a dragon from scratch is a rewarding journey that hones your creativity and technical skills. By following these steps and practicing regularly, you’ll master the art of dragon drawing, creating creatures that leap off the page. So, gather your materials and bring your dragon to life—your imagination is the only limit!
