Whether you’re an absolute beginner or someone with a bit of drawing experience, learning how to draw can be both exciting and intimidating. Have you ever wished you could bring the images in your head to life on paper? Drawing isn’t just a skill but also a powerful form of expression. However, getting started can feel overwhelming with so many techniques, styles, and tools out there.
Imagine this: You’re sitting down with a blank sheet of paper, pencil in hand, eager to create something beautiful, yet unsure where to begin. This guide is designed to solve that very problem by providing step-by-step instructions that make learning how to draw fun and achievable. From mastering basic shapes to adding realistic details, this guide will take you through each essential step to transform your artistic abilities.
Benefits of Learning How to Draw
Learning how to draw offers more than just the skill of creating artwork—it’s a rewarding journey that enhances creativity, improves focus, and can even relieve stress. Whether you’re drawing as a hobby, for a professional goal, or to simply relax, this guide offers a clear, structured approach that will save you time and make learning enjoyable.
Step 1: Gather Your Drawing Supplies
What to Do: Start by collecting basic drawing supplies that will support your practice without overwhelming you with options.
How to Do It:
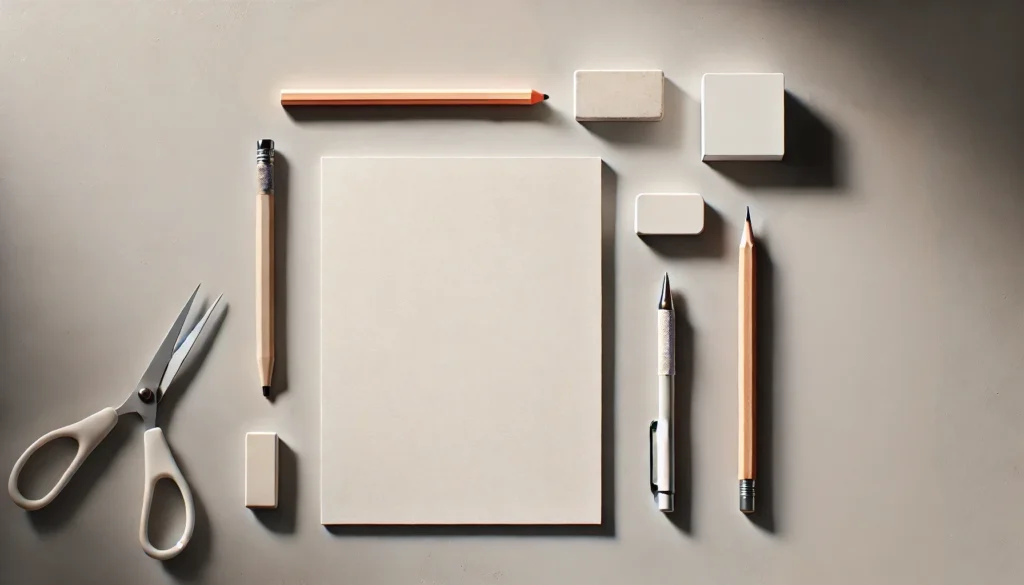
- Choose the Right Paper: Standard sketching paper is ideal for beginners, as it provides a smooth surface that works well with pencils. If possible, select a sketchpad with medium-weight paper (around 70-80 lb).
- Pick a Set of Pencils: Look for a simple graphite pencil set that includes different grades (e.g., 2B, 4B, and HB). The variety in hardness will allow you to create light, medium, and dark lines.
- Get a Good Eraser: A kneaded eraser is a must-have because it can be shaped to erase tiny details without damaging your paper. Mechanical erasers are also handy for finer work.
Why It Matters: Having the right supplies ensures a smoother learning process and more professional-looking results, even as a beginner. Quality materials make it easier to control shading, contrast, and precision in your drawings.
Pro Tips:
- Try a sketching pencil with a comfortable grip to avoid hand fatigue.
- Consider using blending tools, like stumps or tissues, to create smooth shading.

Step 2: Start with Simple Shapes
What to Do: Begin each drawing by breaking down complex forms into basic shapes such as circles, squares, and triangles.
How to Do It:
- Observe and Analyze: Take a look at the object you want to draw and mentally break it down into basic shapes.
- Sketch Lightly: Use a light pencil stroke to draw the basic shapes that form the foundation of your drawing. These will act as “guidelines” for more detailed work.
- Refine the Shapes: As you progress, start refining these shapes to resemble the real object more closely.
Why It Matters: Breaking down objects into simple shapes helps you understand proportion, scale, and form, making it easier to sketch complex images without getting overwhelmed.
Pro Tips:
- Try starting with objects in your surroundings, like a cup or a plant, and identify the shapes within them.
- Practice drawing each shape repeatedly to gain confidence and accuracy.
Step 3: Practice Line Control
What to Do: Master the skill of drawing clean, controlled lines by practicing line exercises like hatching, cross-hatching, and contour drawing.
How to Do It:
- Hatching and Cross-Hatching: Draw parallel lines close together (hatching) or overlapping in a grid pattern (cross-hatching) to practice control and precision.
- Contour Drawing: Outline objects by drawing only the lines along the edges and shapes, without lifting the pencil.
- Line Variation: Experiment with different pencil pressures to create varied line thicknesses, adding depth and interest to your drawings.
Why It Matters: Strong line control is essential for creating both realistic and stylized drawings, helping you add structure and detail to your art.
Pro Tips:
- Avoid drawing heavy lines too soon; start light and build up the intensity as needed.
- Use your whole arm, not just your wrist, for smoother, more controlled lines.
Read more: How to Draw a Dragon: Step-by-Step Guide for Beginners and Aspiring Artists
Step 4: Master Shading Techniques
What to Do: Learn shading techniques to add depth, light, and shadow to your drawings, making them appear more three-dimensional.
How to Do It:
- Understand Light Sources: Identify where the light hits the object and where the shadows fall.
- Apply Gradients: Use different pencil pressures to create a gradient, starting with a light touch for highlights and gradually applying more pressure for shadows.
- Blend and Smudge: Use a blending tool or your finger to smooth out pencil strokes and create soft shadows.
Why It Matters: Shading brings realism to your drawings by enhancing contrast and depth, allowing you to create lifelike images.
Pro Tips:
- Practice creating smooth gradients from dark to light on a blank piece of paper to improve your shading control.
- Avoid using too much pressure as you shade; build up layers gradually.
Step 5: Learn Proportions
What to Do: Develop an eye for accurate proportions by practicing with grids and measuring techniques.
How to Do It:
- Use a Grid: Draw a grid over a reference image and another grid on your paper. Replicate the content square by square for accurate proportions.
- Measure with a Pencil: Hold your pencil at arm’s length, using your thumb to measure the object’s width or height, and translate those measurements onto your paper.
- Start Small: Begin with simpler subjects and move to more complex forms like faces or full bodies.
Why It Matters: Proper proportions prevent distortions and enhance realism, especially in portraits and figure drawings.
Pro Tips:
- Draw guidelines for faces, dividing the head into thirds to place eyes, nose, and mouth accurately.
- Use negative space (the space around the object) to double-check proportions.
Step 6: Add Details and Textures
What to Do: Bring your drawings to life by adding small details and textures, such as wrinkles on fabric, fur on animals, or bark on trees.
How to Do It:
- Observe Real Life: Study how light and texture interact in real-life objects.
- Apply Detail Sparingly: Start with larger textures and gradually add finer details as needed.
- Use Different Pencils: Switch between hard and soft pencils to create contrasting textures.
Why It Matters: Details and textures make drawings more visually engaging and add a layer of complexity that makes your art stand out.
Pro Tips:
- Experiment with different mark-making techniques, such as stippling for rough textures.
- Avoid overloading your drawing with unnecessary details; focus on areas that enhance the subject.
Read more: How to Draw Stitch: A Step-by-Step Guide for Beginners and Fans
Troubleshooting & Additional Tips
Common Issues & Fixes:
- Uneven Shading: Use a light hand and build up gradually; try blending tools for a smooth look.
- Proportion Mistakes: Always measure before committing to details. Reassess proportions regularly.
- Smudging: Place a clean sheet under your hand as you draw to avoid smudging.
Best Practices & Tips:
- Practice daily, even if it’s just for 10 minutes.
- Draw from real life as much as possible to improve observation skills.
- Keep all your sketches, even the rough ones, to track progress over time.
FAQs about How to Draw
1. What is the best way to practice drawing daily?
Set aside a small amount of time each day for focused drawing exercises, such as line control or quick sketches.
2. How can I improve my drawing skills quickly?
Consistent practice is key; start with basics like shapes and shading, and challenge yourself with more complex subjects gradually.
3. How often should I practice shading techniques?
Practice shading a few times a week to strengthen your control over light and shadows.
4. Should I draw from photos or real life?
Both are beneficial, but drawing from real life can help sharpen your observational skills more effectively.
5. What’s the best way to add realistic textures?
Study different surfaces and experiment with mark-making techniques to mimic textures such as fur, wood, or stone.
Conclusion
Drawing is an incredibly rewarding skill that anyone can develop with patience, practice, and the right guidance. From gathering supplies to mastering proportions and shading, each step in this guide equips you with practical tools and techniques to create art you’ll be proud of. So grab your pencils, start with simple shapes, and build your way to detailed, realistic drawings.
Keep practicing and exploring, and remember, every artist started with their first sketch. Embrace the journey, and you’ll see your skills grow in no time!
