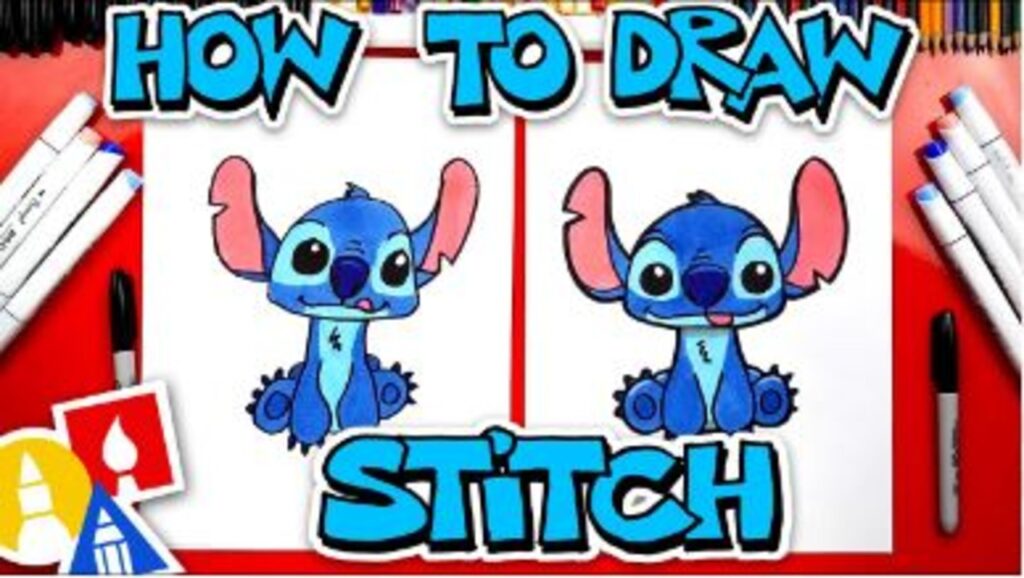
Have you ever looked at a picture of Stitch, the lovable alien from Disney’s Lilo & Stitch, and thought, “I wish I could draw him”? You’re not alone! Stitch’s quirky grin, big floppy ears, and adorable eyes make him a favorite subject for artists, fans, and doodlers alike.
But let’s face it—drawing Stitch can feel intimidating, especially if you don’t know where to start. From his expressive face to the intricate details of his fur and claws, capturing Stitch’s essence takes more than a quick scribble.
Fear not! In this comprehensive guide, we’ll show you how to draw Stitch, breaking the process into simple, achievable steps. Whether you’re a complete beginner or an experienced artist, you’ll find actionable tips, expert advice, and relatable examples to help you create a Stitch drawing that you’ll be proud of.
By the end of this guide, you’ll know:
- How to sketch Stitch’s basic shapes.
- How to refine details like his ears, eyes, and mouth.
- Pro tips to add shading, texture, and personality.
Grab your pencils, erasers, and some paper—let’s bring Stitch to life!
Step-by-Step Instructions on How to Draw Stitch
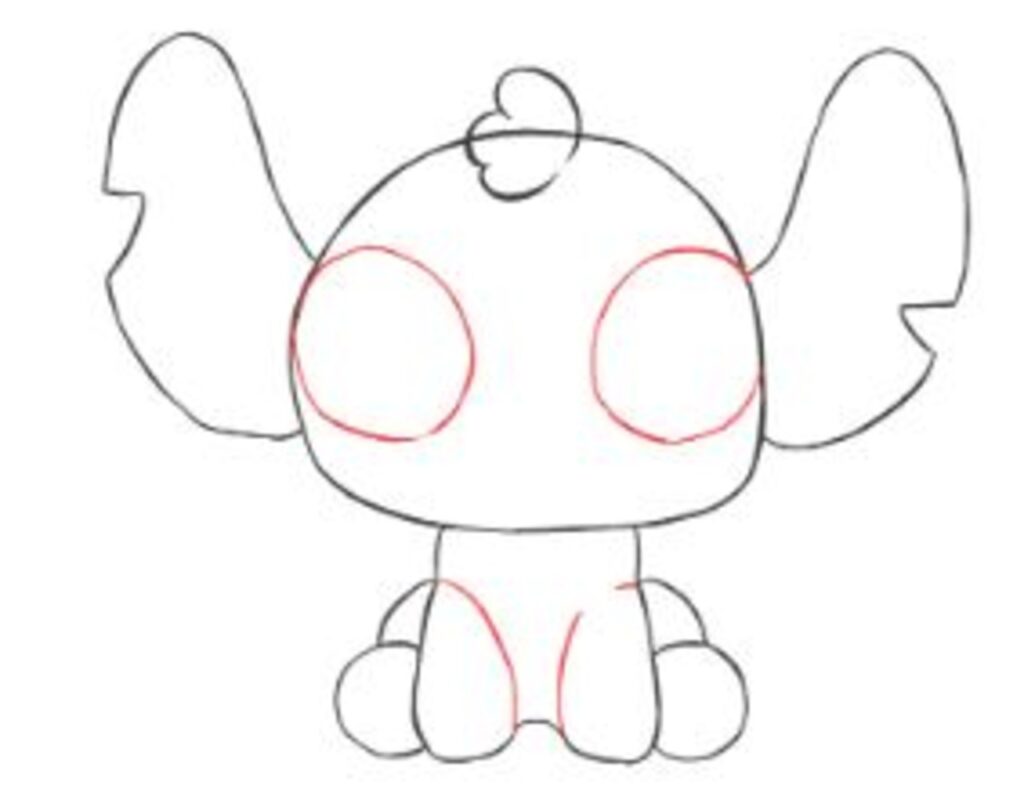
Step 1: Start with Basic Shapes
What to Do: Begin by sketching the foundation using basic geometric shapes.
How to Do It:
- Draw a large oval for Stitch’s head—it should be slightly wider than it is tall to capture his cartoonish proportions.
- Add a smaller oval below it for his body. Make sure it overlaps slightly with the head.
- For the ears, sketch two large, rounded triangles extending from the sides of the head. These should be tilted slightly outward.
- Add small circles at the base of the body to outline where his arms and legs will go.
Why It Matters: These shapes create the framework for your drawing. Starting simple helps keep the proportions accurate and ensures you won’t miss critical details later.
Pro Tip: Don’t press too hard with your pencil. Use light strokes so you can easily erase and adjust as needed.

Step 2: Define Stitch’s Facial Features
What to Do: Add details to Stitch’s face, the most expressive part of his design.
How to Do It:
- Draw a horizontal guideline across the head to mark where his eyes will sit.
- Add two large ovals on this line for his eyes, slightly tilted inward for a mischievous look.
- Sketch a wide U-shaped curve below the eyes for his mouth. Add a line through the middle to divide his teeth and a small tongue at the bottom.
- For the nose, draw a small oval right between the eyes, slightly above the mouth.
Why It Matters: Stitch’s face is full of personality! Getting the placement and size of these features right will make your drawing instantly recognizable.
Pro Tip: Exaggerate his features slightly—larger eyes and a wider mouth emphasize his playful and alien charm.
Read more: How to Draw: A Step-by-Step Guide to Unlocking Your Artistic Potential
Step 3: Outline the Body and Limbs
What to Do: Move on to Stitch’s body, arms, and legs to complete his structure.
How to Do It:
- Use the smaller oval below the head as a base to outline his torso. Keep it rounded and soft to match his cartoon style.
- For the arms, draw two sausage-like shapes extending from the circles you sketched earlier. Add tiny ovals at the ends for his fingers.
- For the legs, draw two short, thick shapes extending downward. Add small claws to the ends.
Why It Matters: Stitch’s stubby proportions are key to his adorable look. By keeping the arms and legs short and round, you’ll capture his playful energy.
Pro Tip: Check the symmetry as you go—uneven arms or legs can make the drawing look off.
Step 4: Add Details to Ears and Fur
What to Do: Focus on the unique details that make Stitch stand out, like his ears and patches of fur.
How to Do It:
- Add a smaller inner triangle to each ear to create depth. Use curving lines for the edges to make the ears look soft.
- Sketch a patch of fur on his chest—it should look like a fluffy oval.
- Add a few jagged lines along the edges of his body and limbs to suggest fur texture.
Why It Matters: These small details transform your drawing from a basic outline into a character full of life and personality.
Pro Tip: Use short, quick pencil strokes for fur details. Avoid long, heavy lines, which can make the fur look unnatural.
Step 5: Refine and Add Personality
What to Do: Bring Stitch to life by refining the lines and adding his mischievous personality.
How to Do It:
- Go over your sketch with a darker pencil or pen, solidifying the lines you want to keep.
- Add Stitch’s signature eyebrow creases above his eyes for a cheeky expression.
- Refine the teeth in his mouth, ensuring they’re evenly spaced but slightly irregular for that goofy charm.
Why It Matters: Stitch isn’t just any alien—he’s a cheeky, loveable troublemaker. These finishing touches highlight his unique personality.
Pro Tip: Add a slight tilt to his head to make the pose dynamic and engaging.
Step 6: Color Your Drawing
What to Do: Complete your artwork with vibrant colors.
How to Do It:
- Use a blue pencil or marker for Stitch’s body. Blend different shades to create depth.
- Color his chest patch and inner ears light pink.
- Add black for his eyes and claws, with a white highlight in each eye to make them pop.
Why It Matters: Coloring brings your drawing to life, making it look polished and professional.
Pro Tip: Use colored pencils for shading or experiment with digital tools if you prefer a clean, animated look.
Read more: How to Draw a Dragon: Step-by-Step Guide for Beginners and Aspiring Artists
Troubleshooting & Additional Tips
Common Issues & Fixes
- Uneven Eyes: Use guidelines to keep them symmetrical. If one looks off, erase and redraw lightly.
- Flat Fur: Add shading to give the fur texture and depth.
- Rigid Lines: Keep your strokes loose and fluid, especially for outlines and fur.
Best Practices & Tips
- Keep your eraser handy. Sketching involves a lot of trial and error.
- Use references, like images of Stitch, for accuracy and inspiration.
- Experiment with poses once you’ve mastered the basics.
FAQs about How to Draw Stitch
1. Can I draw Stitch digitally?
Yes! Use drawing tablets or apps like Procreate. The steps remain the same; just use digital tools for layering and coloring.
2. What’s the best pencil to use for sketching Stitch?
A standard HB pencil is great for sketching, while a 2B pencil works well for shading.
3. How long does it take to learn to draw Stitch?
With practice, you can create a recognizable Stitch drawing in a couple of hours. Regular practice will improve speed and accuracy.
4. What if my drawing doesn’t look like Stitch?
Don’t worry—every artist starts somewhere! Focus on the process, not perfection. Each attempt will bring you closer to your goal.
Conclusion
Drawing Stitch may seem daunting, but with patience and practice, you can capture his charm and personality on paper. By breaking the process into manageable steps, you’ll find it easier to tackle each element—from his big ears to his playful smile.
So, grab your sketchpad and start your Stitch masterpiece today! Share your progress with friends, or try drawing him in different poses to hone your skills further. Remember, the key is to have fun and let your creativity shine.
